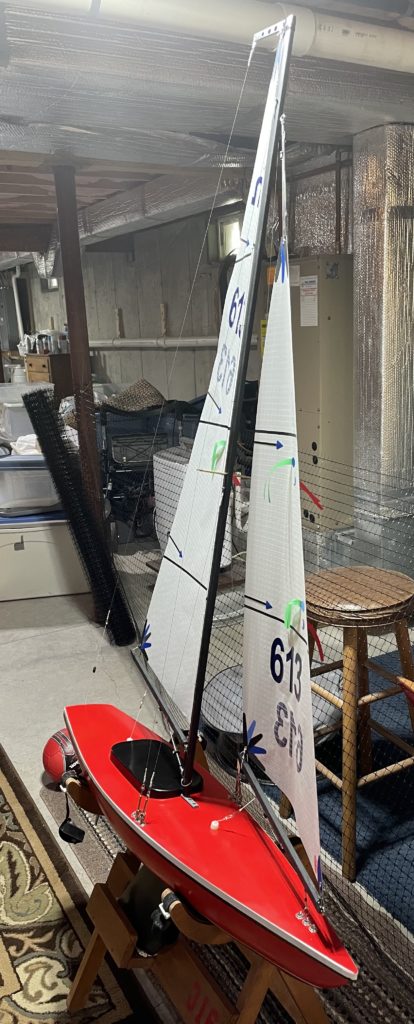
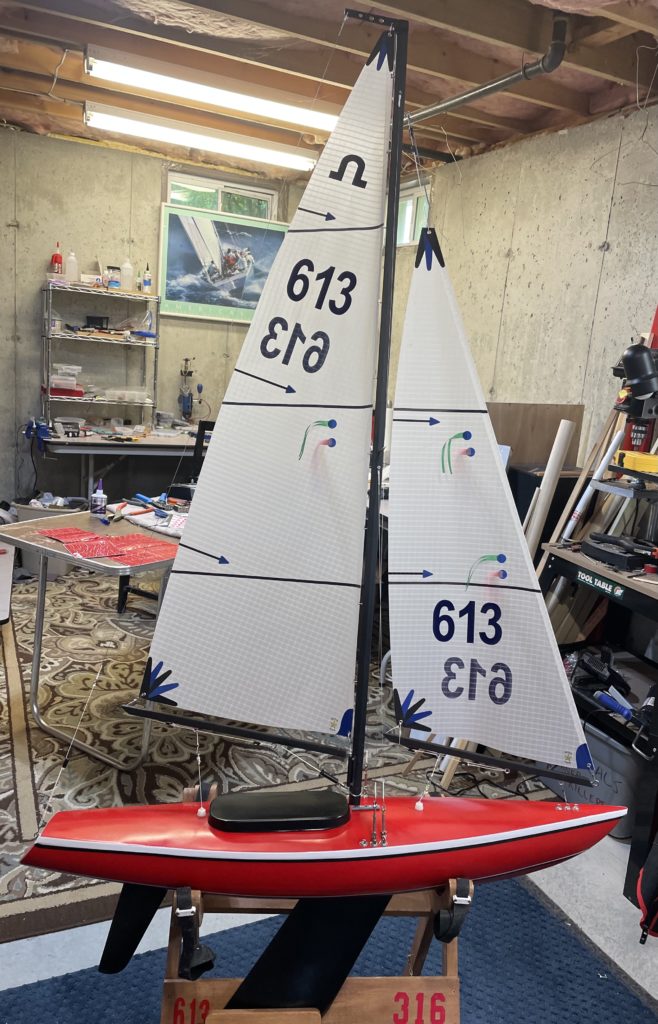
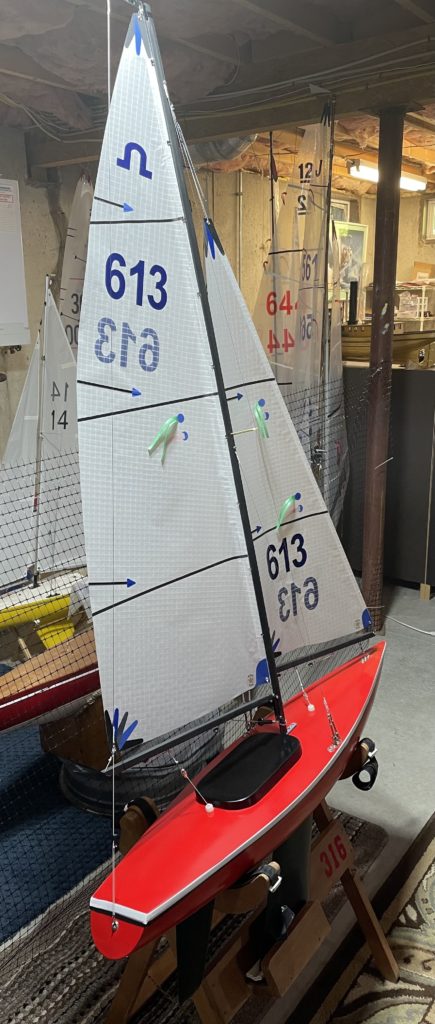
After the paint, the fussiness of setting the standing rigging and the running rigging took more time than expected. I chose to use a complete rig from Dion Sails RC. I find rigs with 2 stays (1 with spreaders) to be difficult. The turnbuckles that came with the rig were butchered by me. I switched to Pekabe turnbuckles in order to fine tune more easily. My sails are from Sirius Sails and I had some difficulty threading the the jack wire in a very small luff pocket.
So, I will finally declare the project to be complete. I will take the boat to sail with Mount Hope Bay MYC next Tuesday.
I weighed the boat and it is 10 lbs 6 oz. Should be light enough to compete well, I hope.
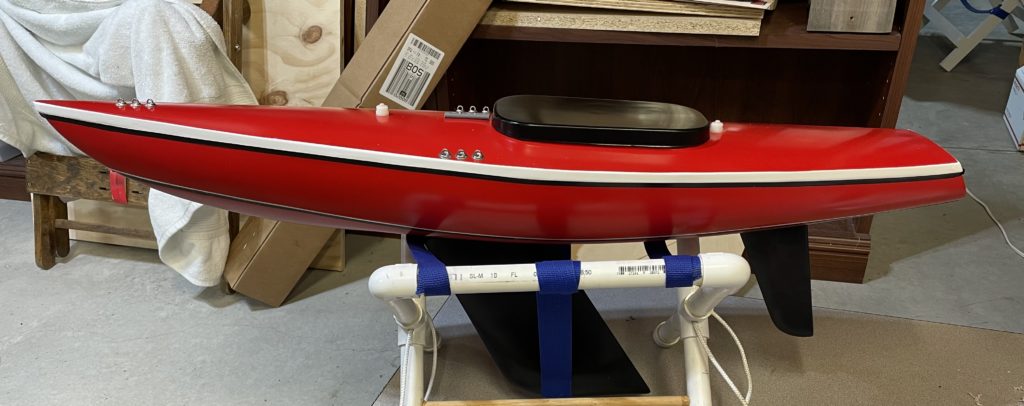
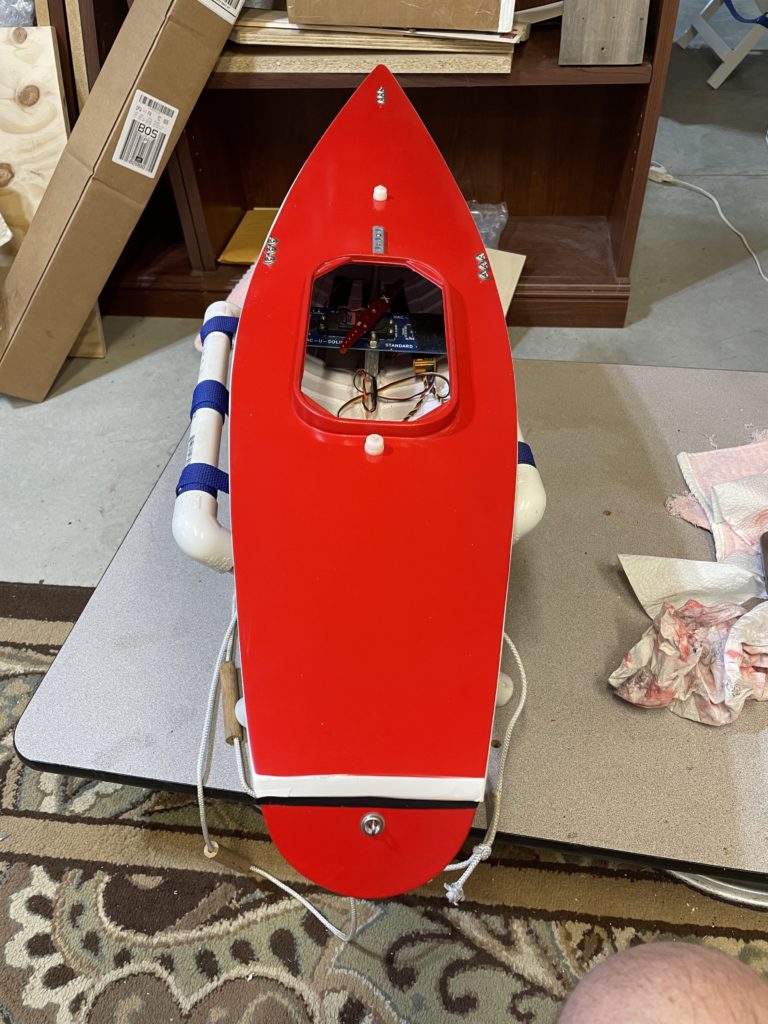
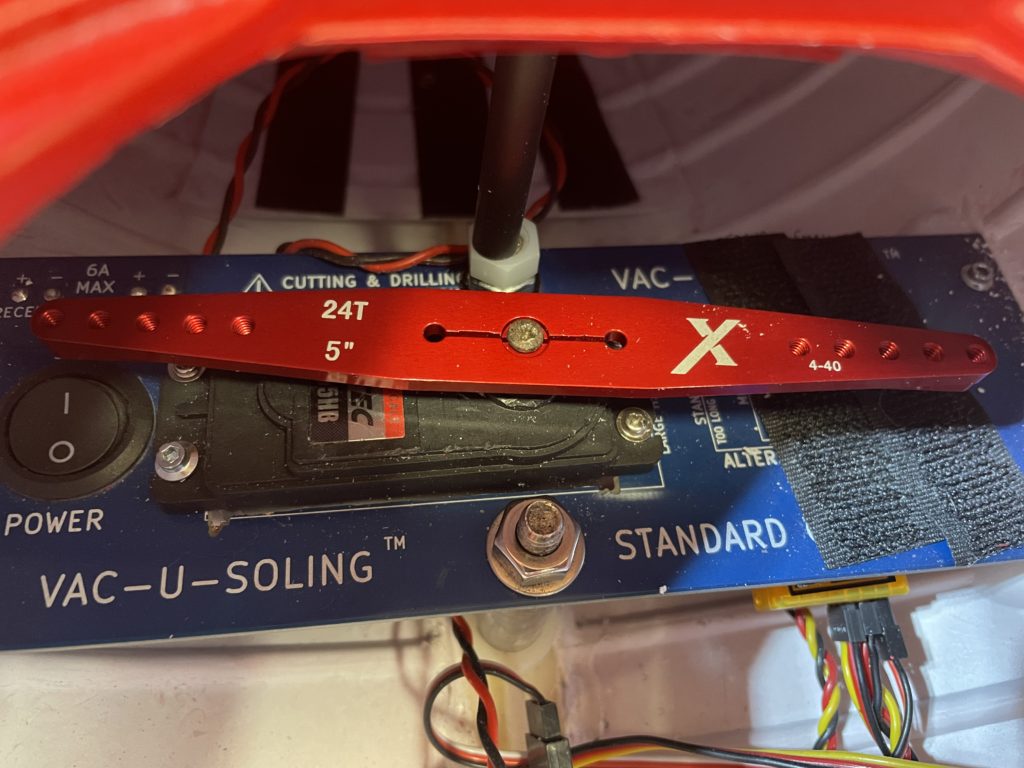
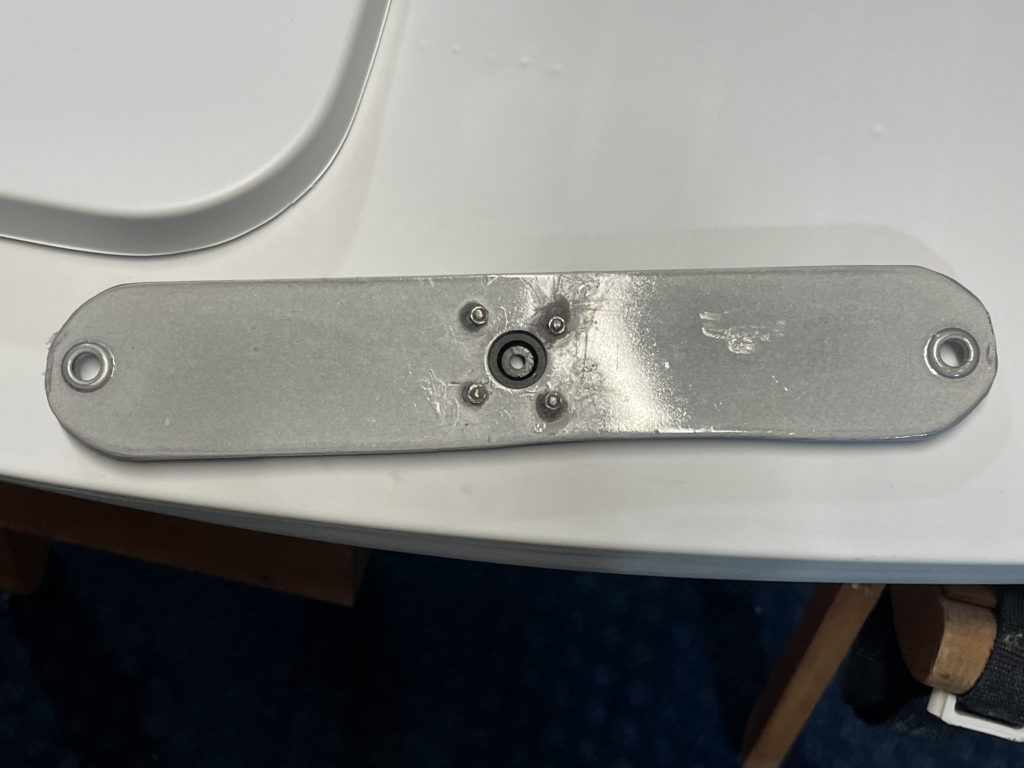
Getting near the end of this build. Hope to sail the boat within the next week. Today, the deck hardware was installed. I hope to get the standing rigging and running rigging finished within a day or two. Today’s photos (below) show the deck hardware and I also switched out the 4” swing arm for a 5” swing arm. I think that will provide a better purchase on the sheets.
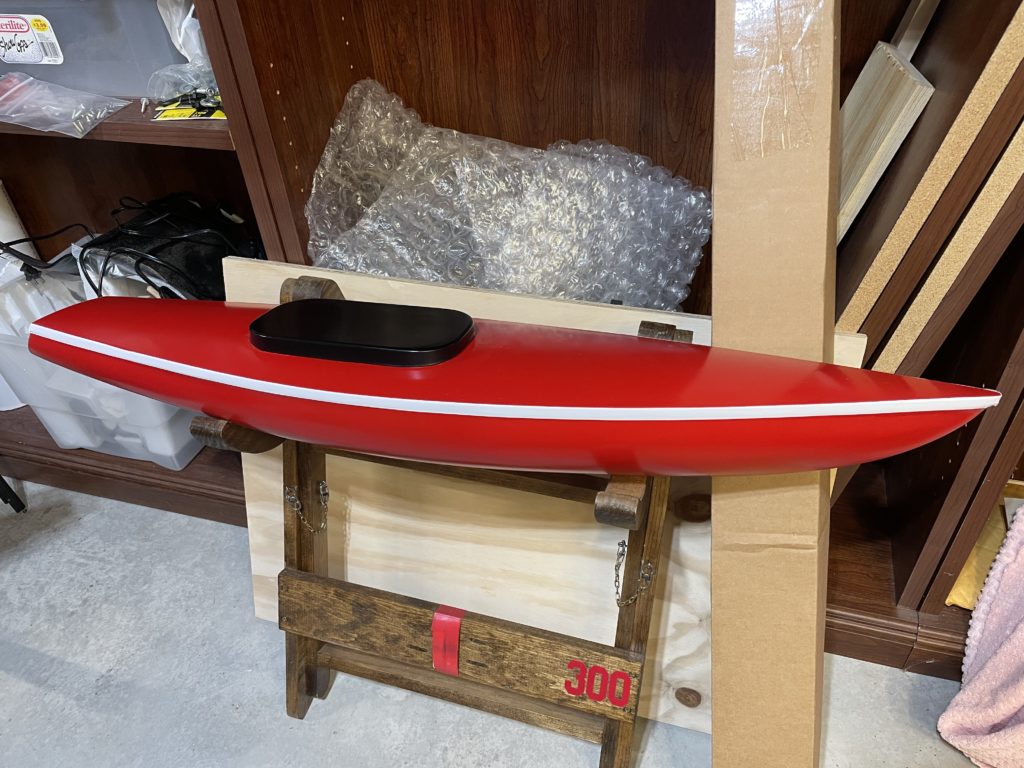
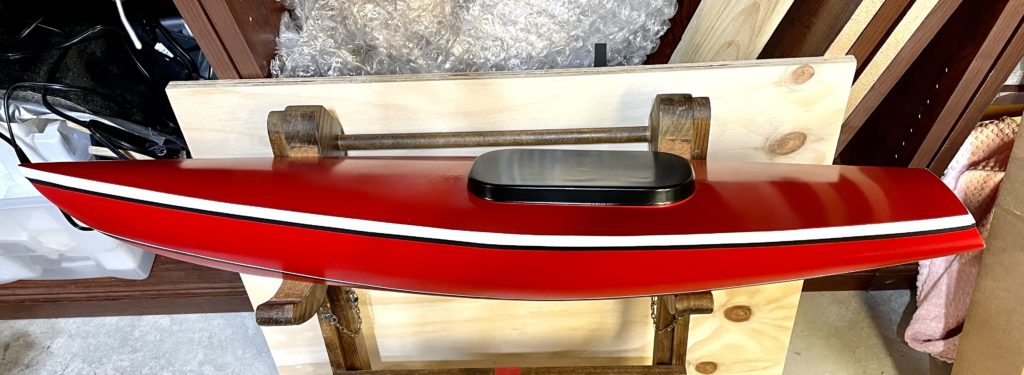
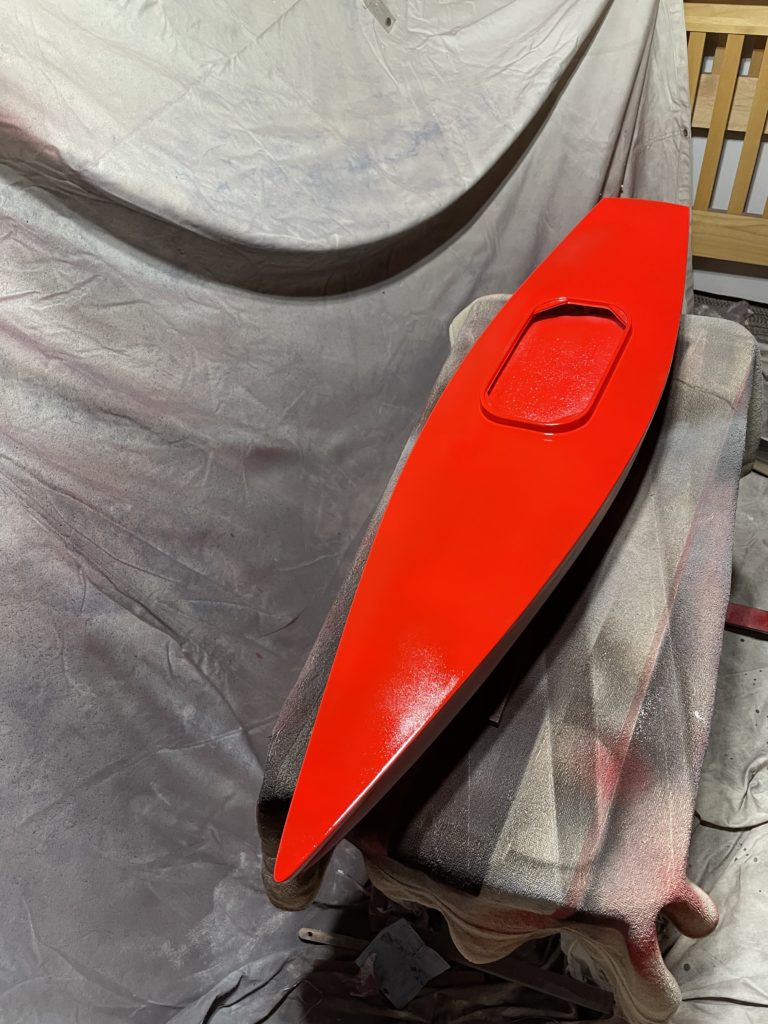
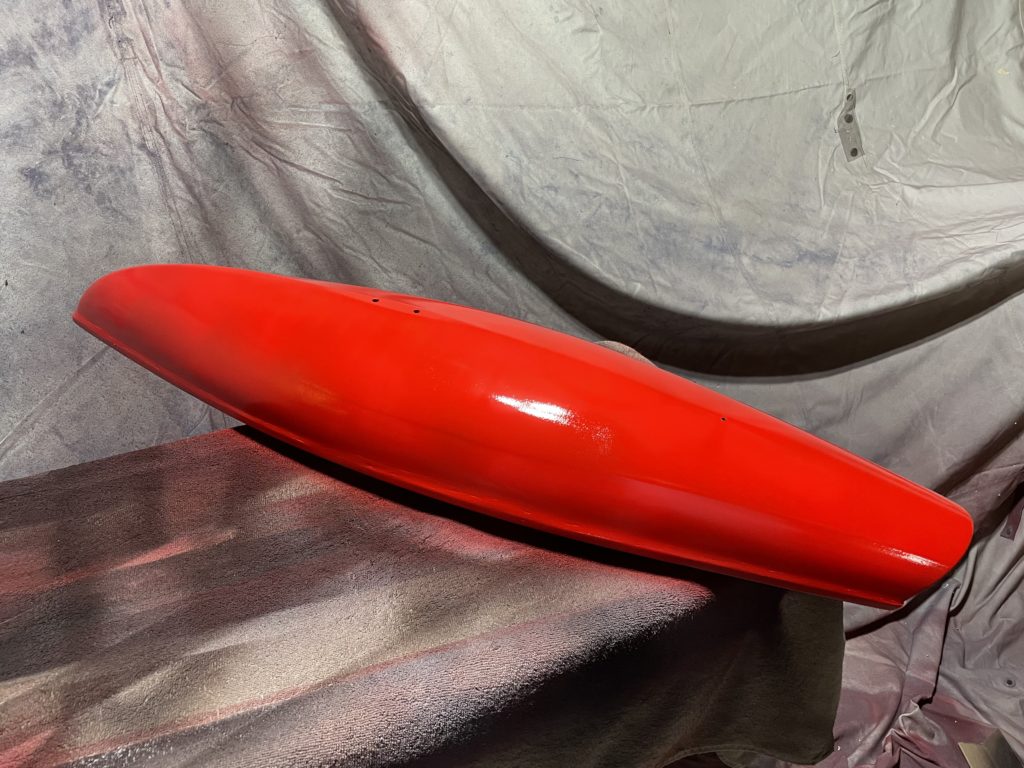
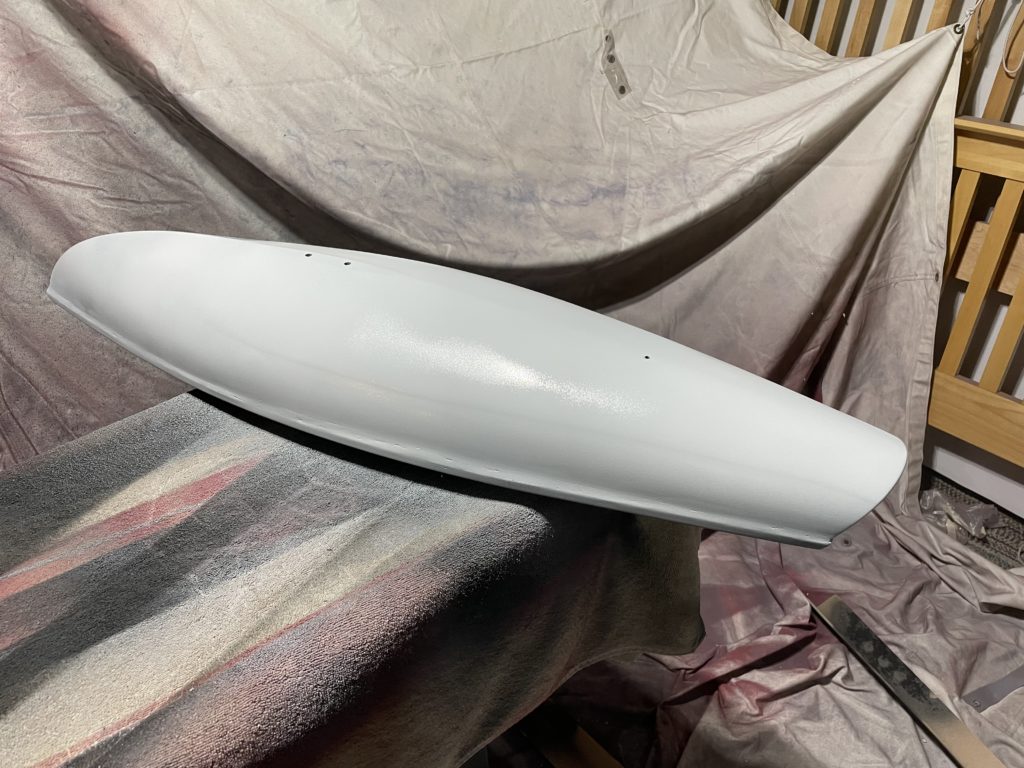
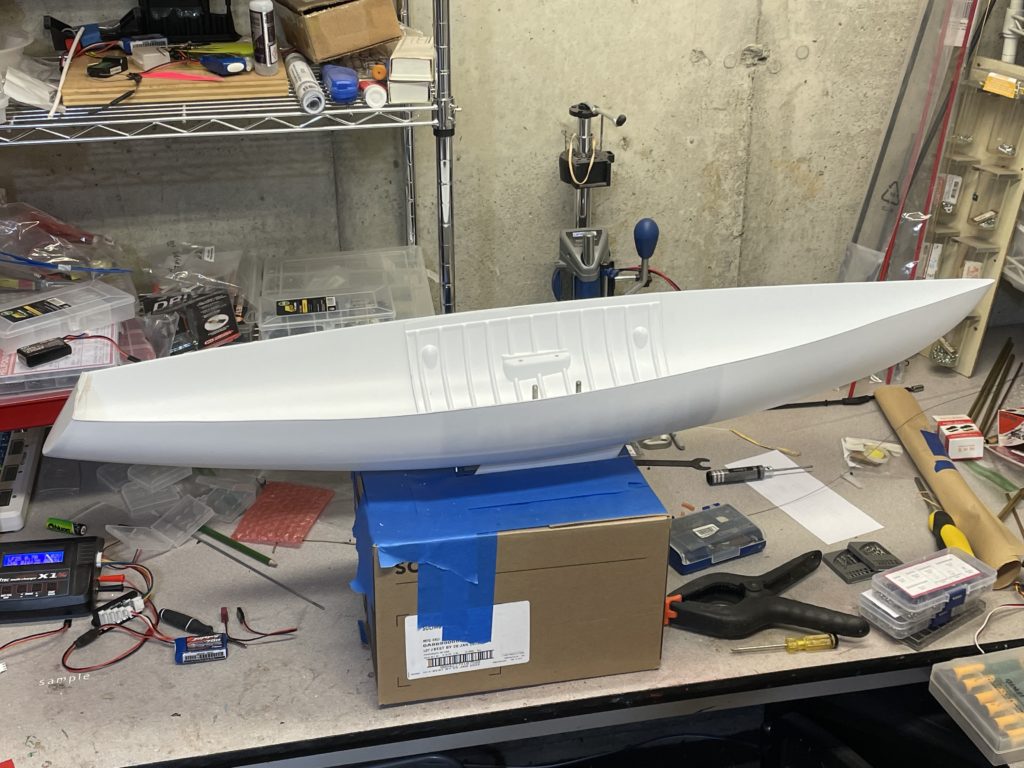
I find the paint process to be difficult. Maybe it’s because I am fussy, but I struggle with getting the result I want. I finally have the hull and all other painted parts to the acceptable level. It’s taken way too long, but now the rest of the build should go quickly.
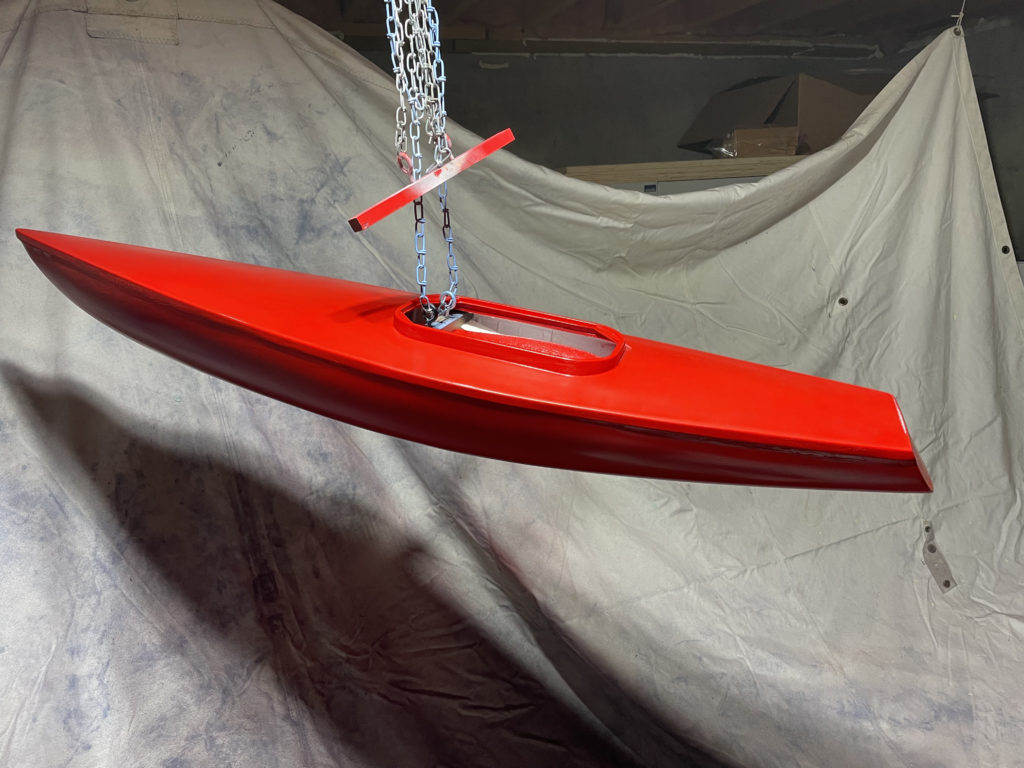
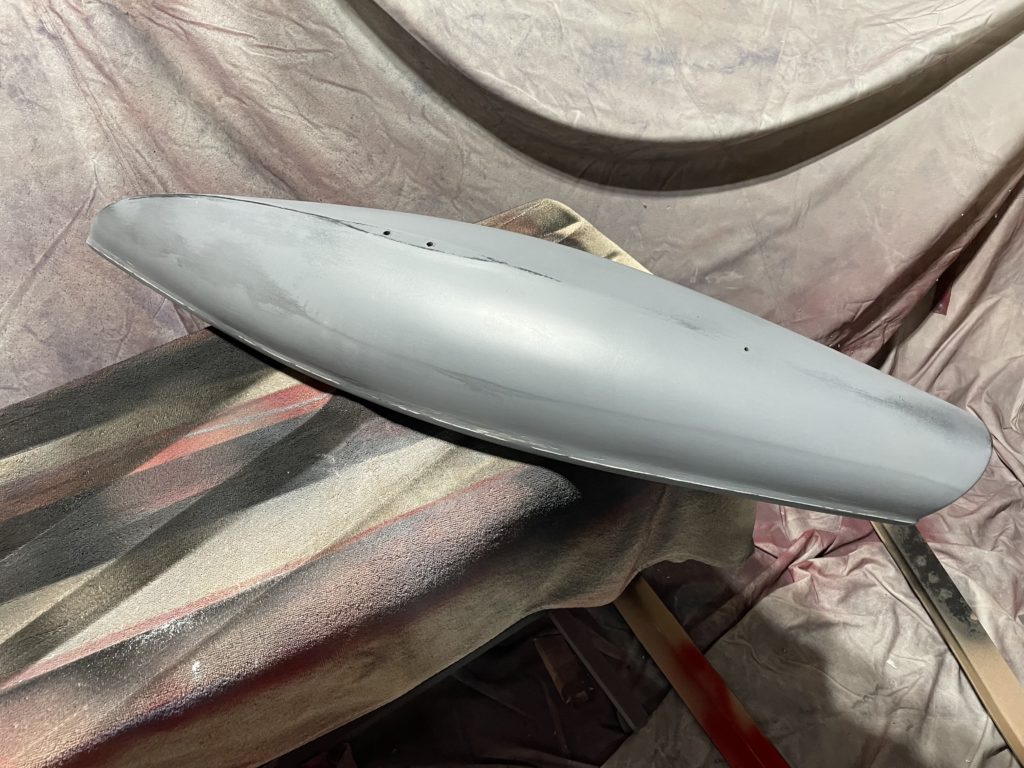
Painting models is usually an exercise in frustration for me. I have had a few surprises already, but I have slowed down the process now. Taking days between paint and, sanding and wet sanding. I am nearing the finish with clear coat. Looking forward to finishing up deck hardware and rig set up.
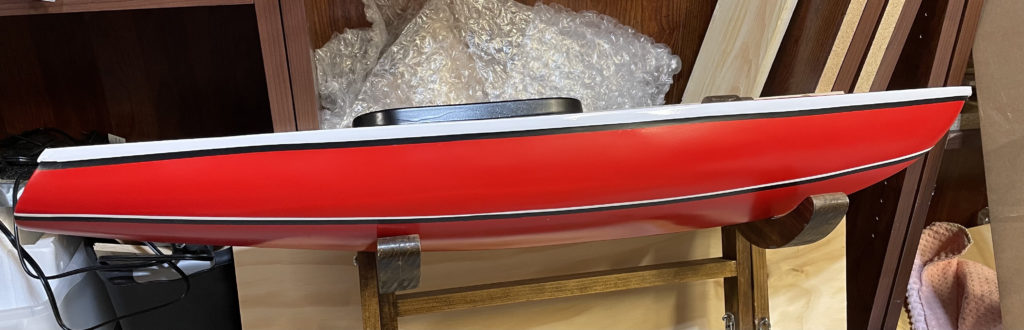
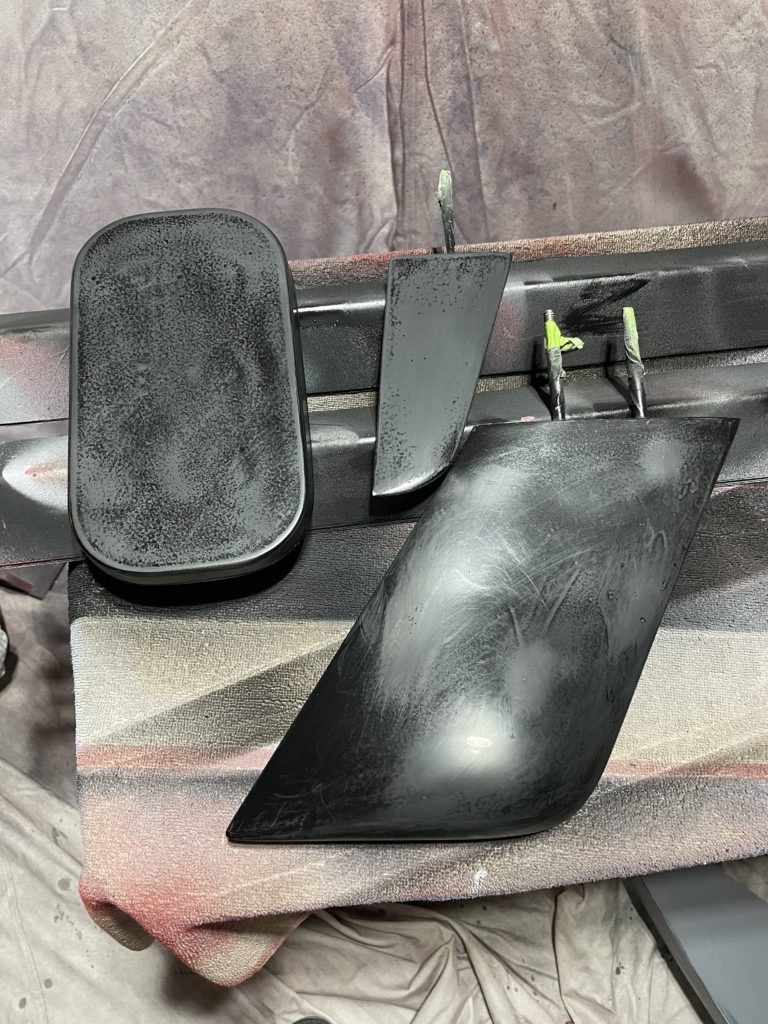
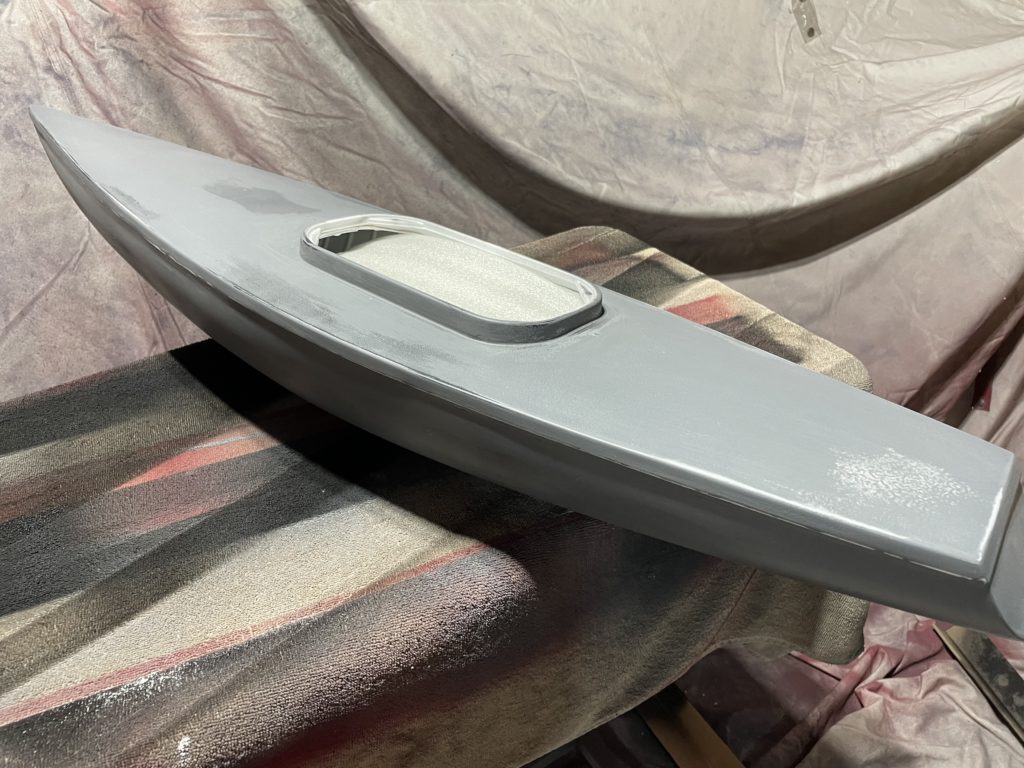
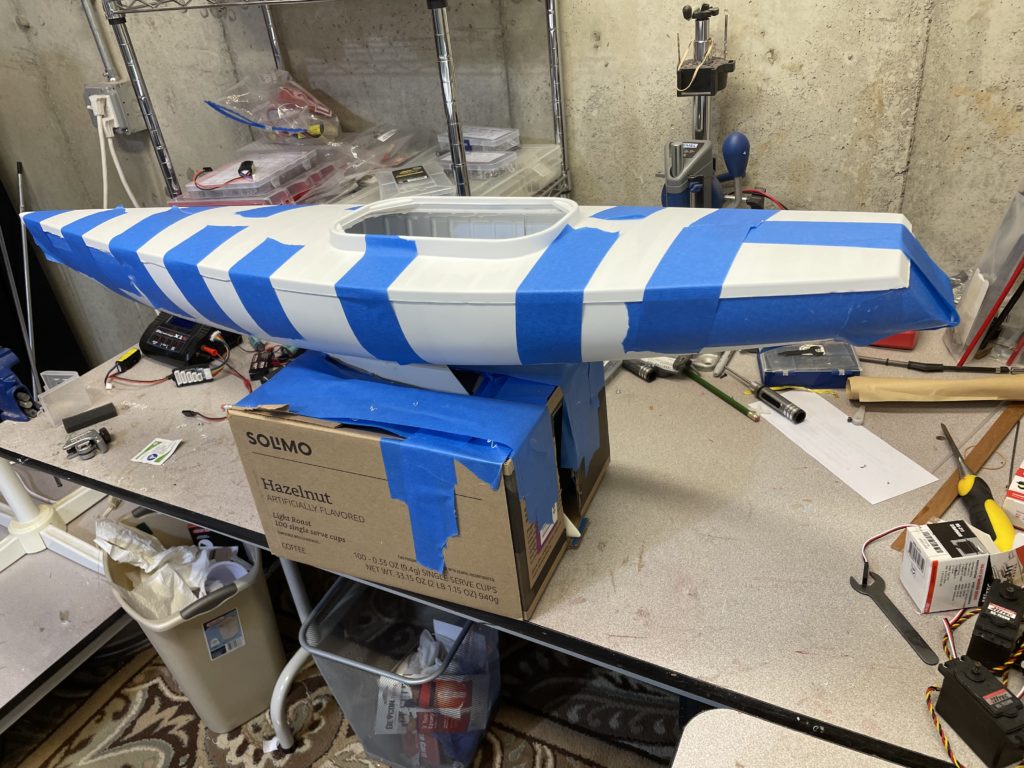
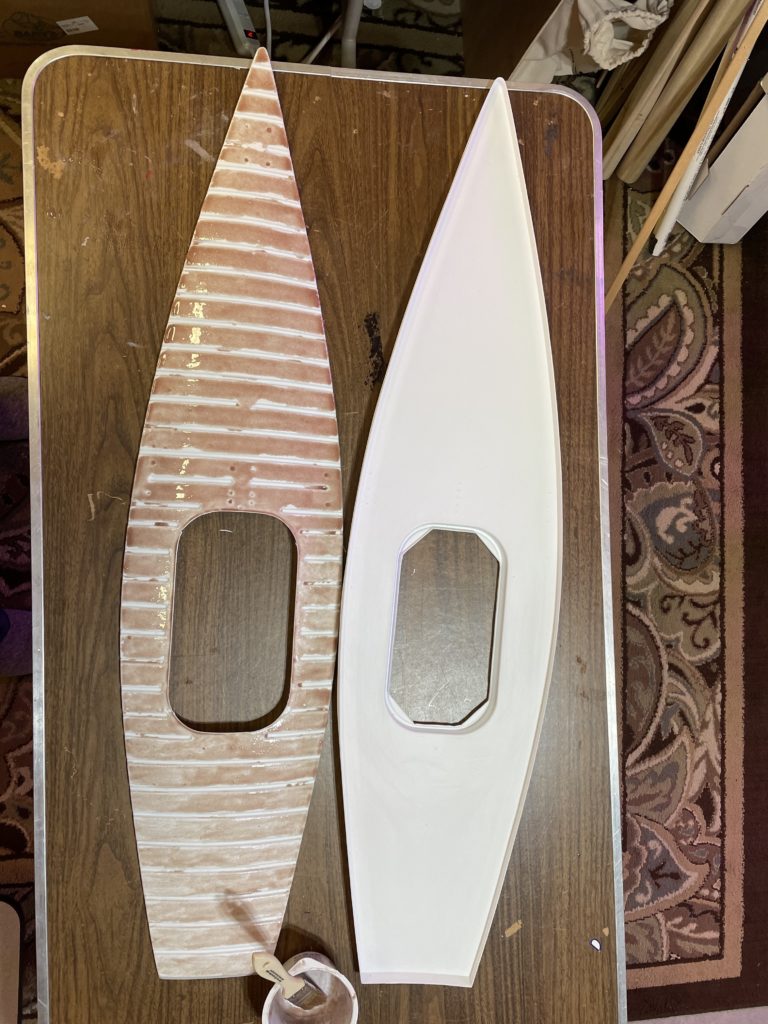
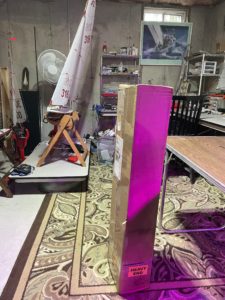
Progressed to the paint booth. Taking lots of time here, hoping to get a really nice paint job. Hull color will stay a mystery for a little bit longer. Accents are glossy black.
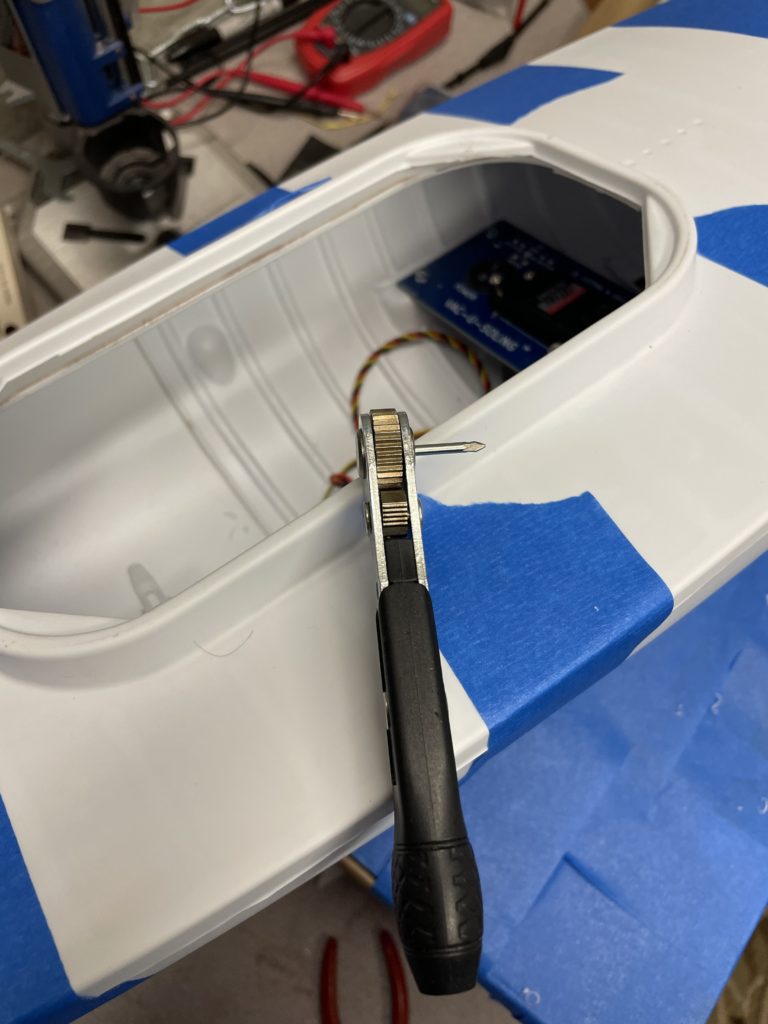
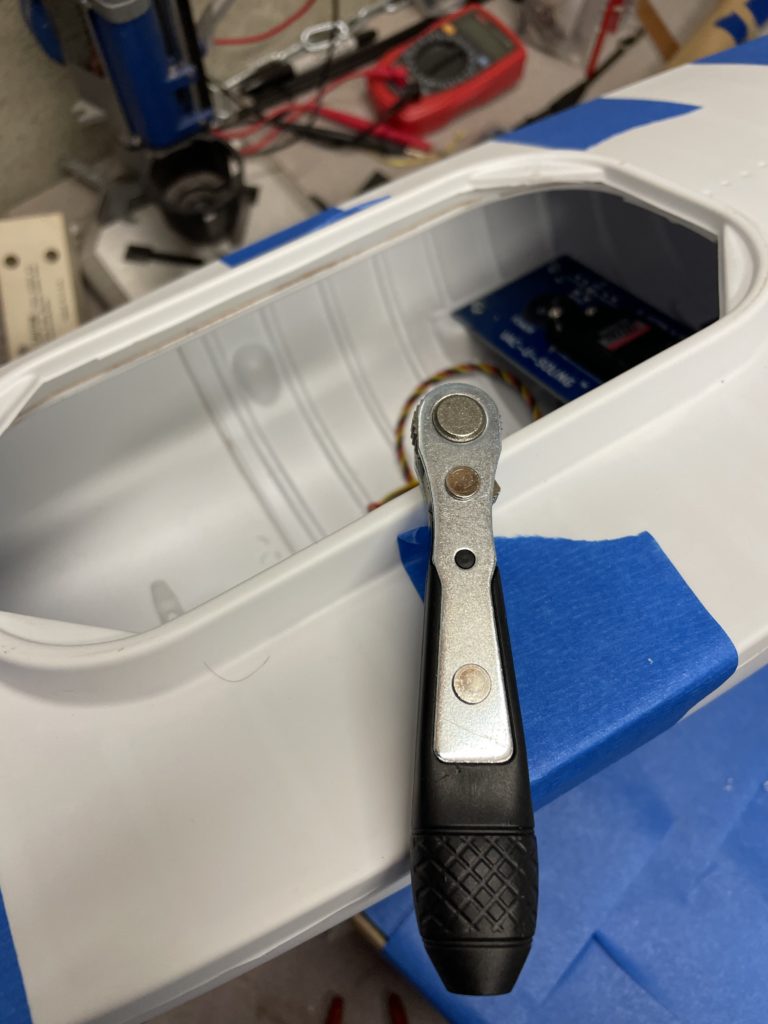
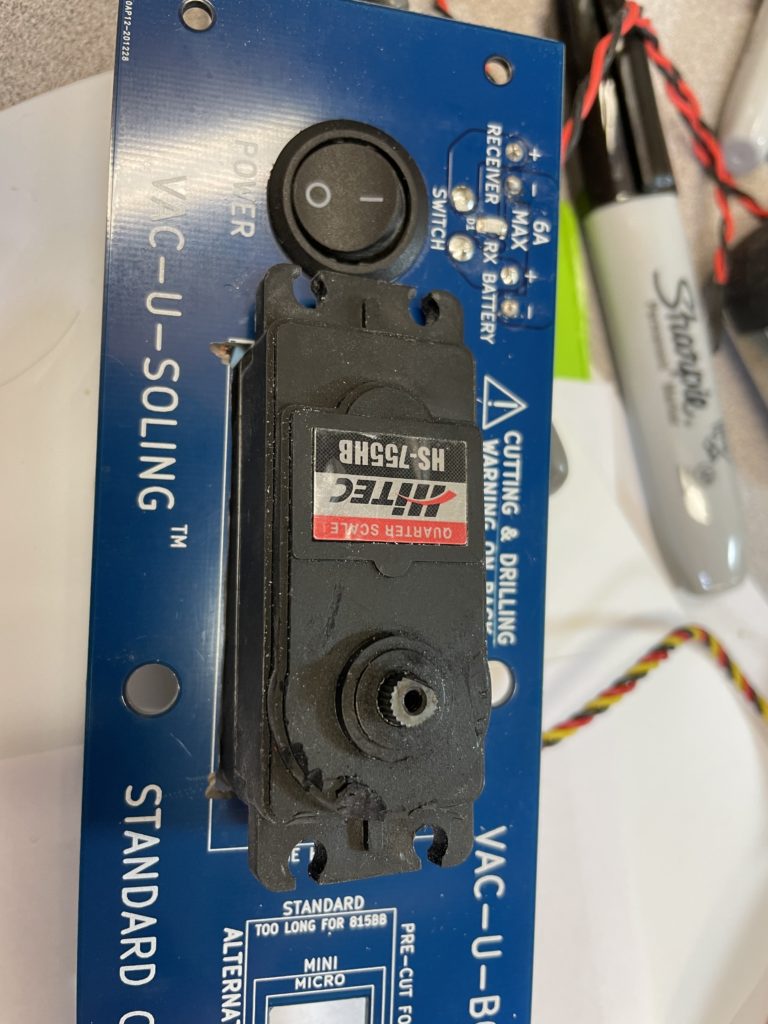
Now that the deck has been sealed to the hull, the boat is ready to paint. Electronics have been placed and tested successfully. Two things to note. 1). There is very little space to work with when installing or uninstalling the sail servo. Frustration drove me to search for a new tool to get around this issue. See this tiny ratcheting wrench/screwdriver.
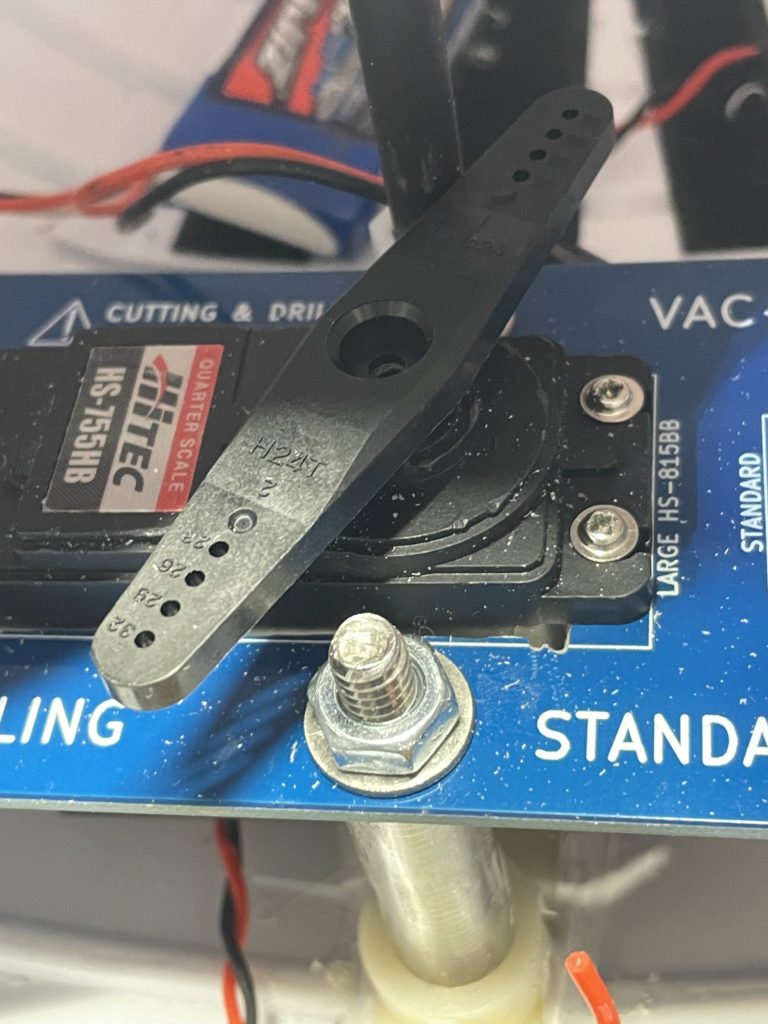
I wrote to Phil Pace about this and told him about this little tool. He may add this suggestion to his build instructions. 2). With the sail servo placement being so close to the king post, I discovered I couldn’t use the swing arm I had built, because it was too wide and too long. So…..I will be using the swing arm from Hitec with hopes it will work well. See photos below:
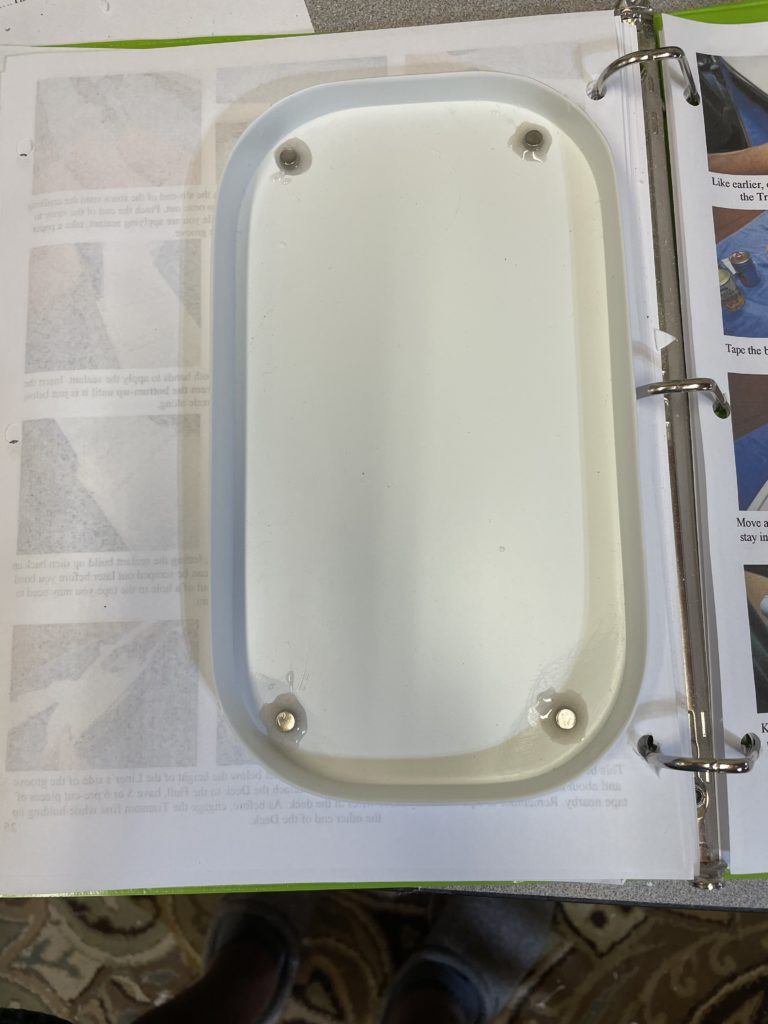
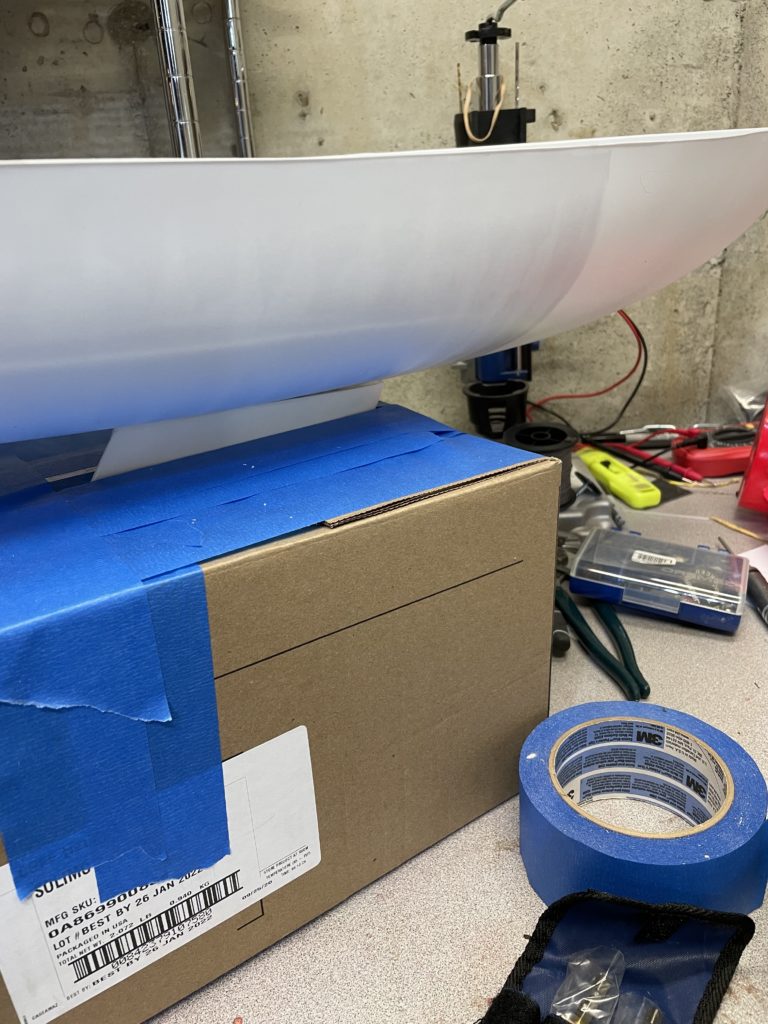
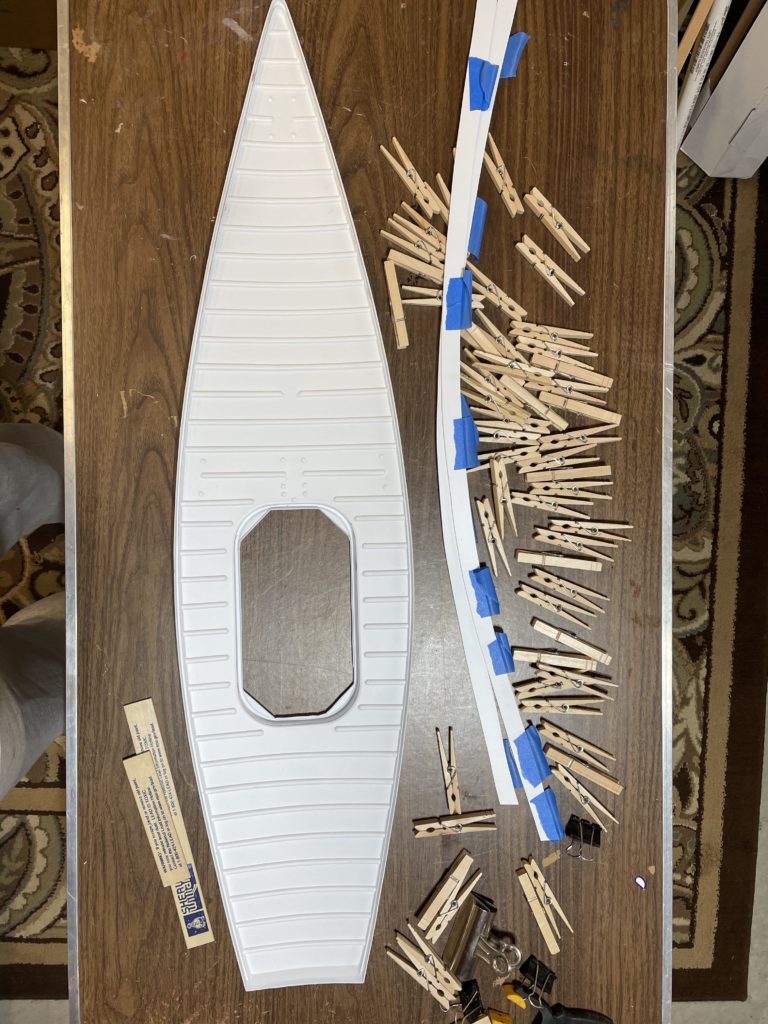
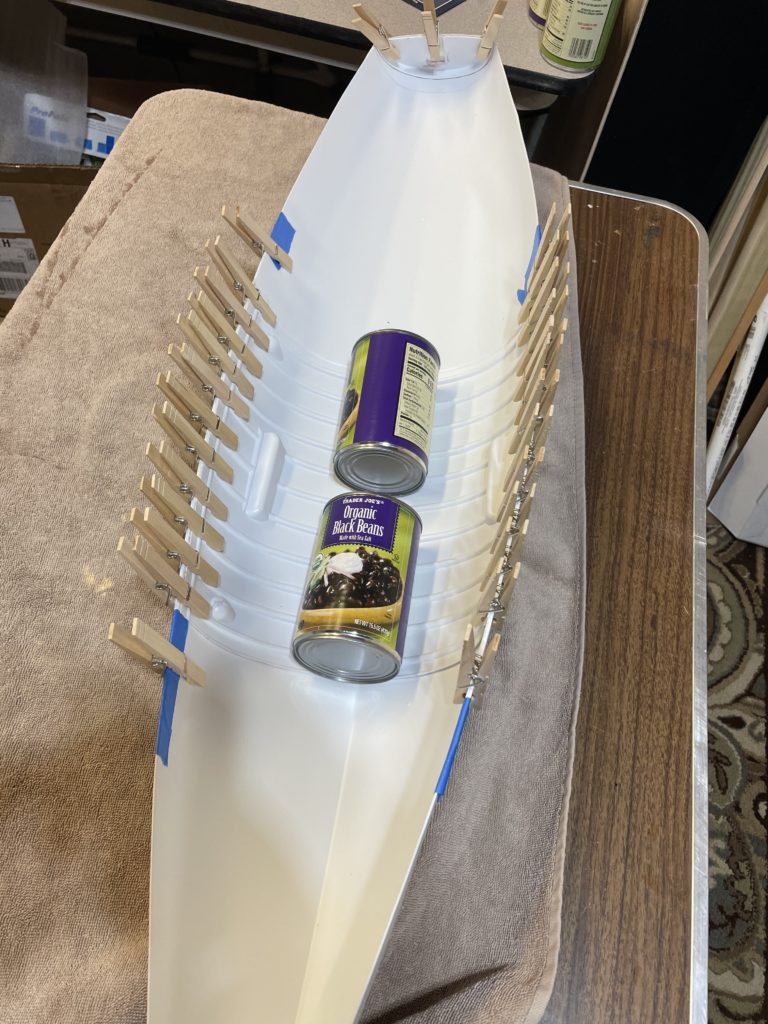
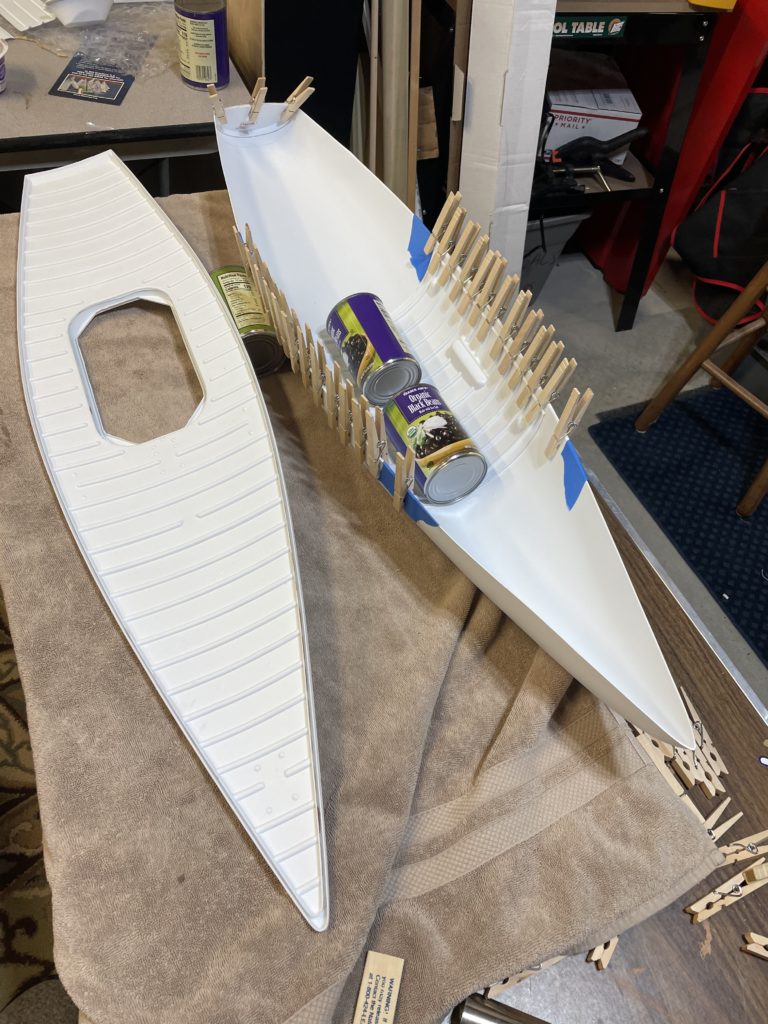
Making good progress now. Placed the battery tray, and dry fitted the deck to the hull. With that in good order, I followed the clear instructions for placing the sealant on the deck and placed it on the hull. Checked all around to make certain the deck was where it needed to be and taped it down. It will now cure for 3 days. Also fixed the hatch cover with the magnets and epoxied them in place.
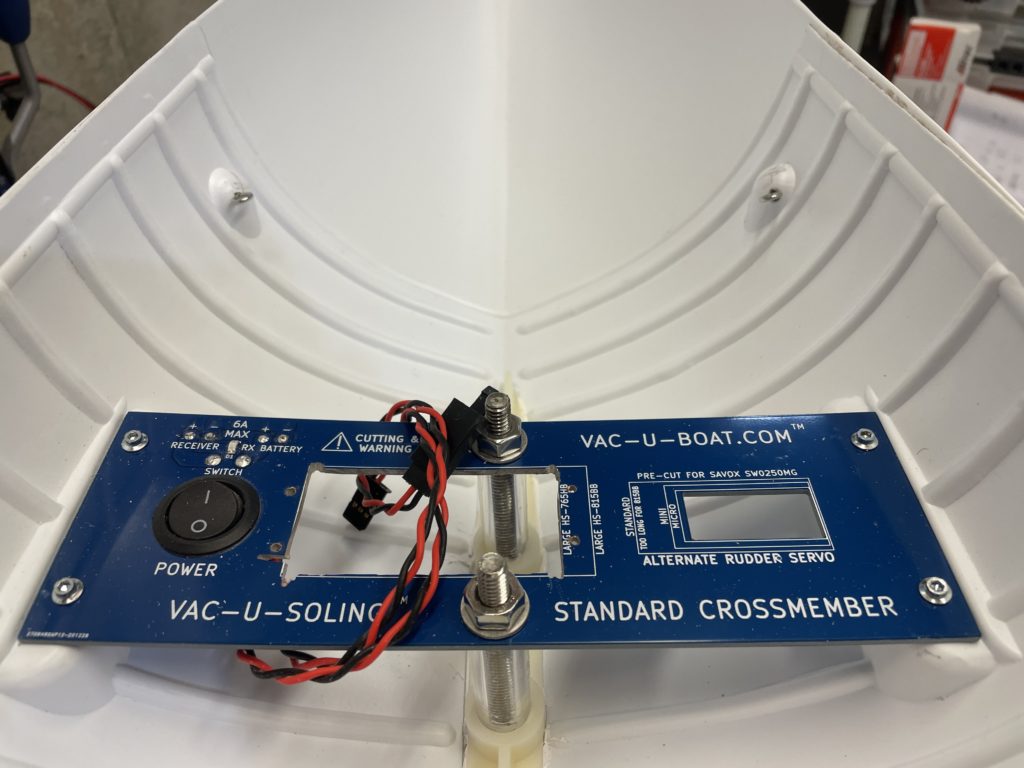
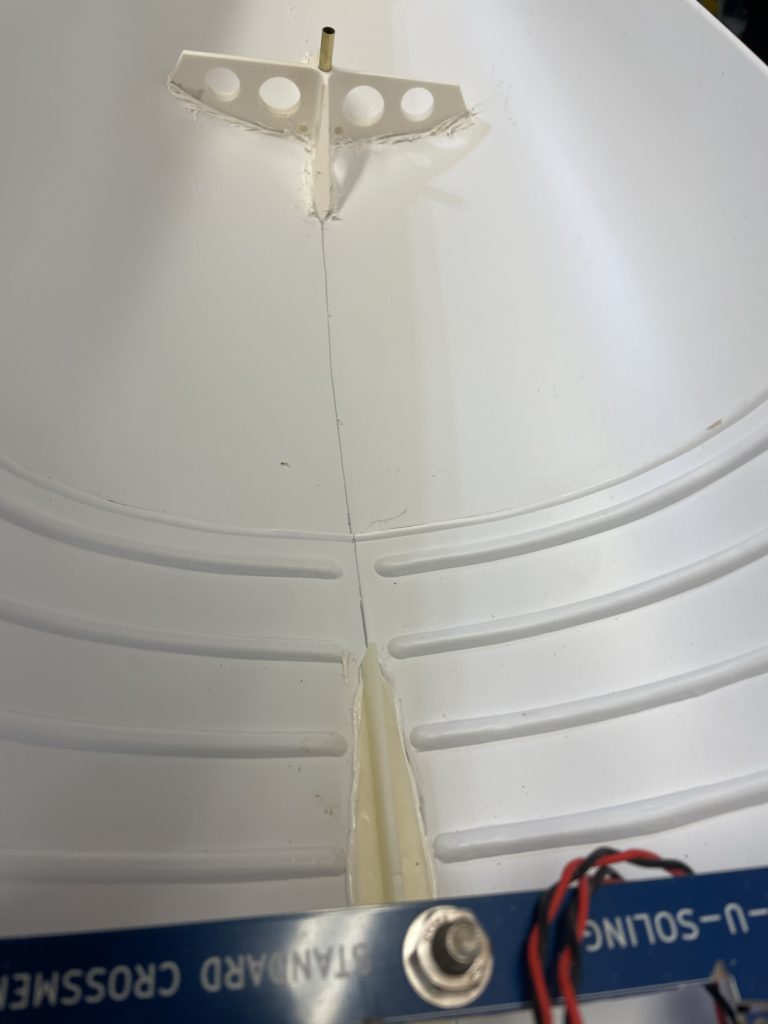
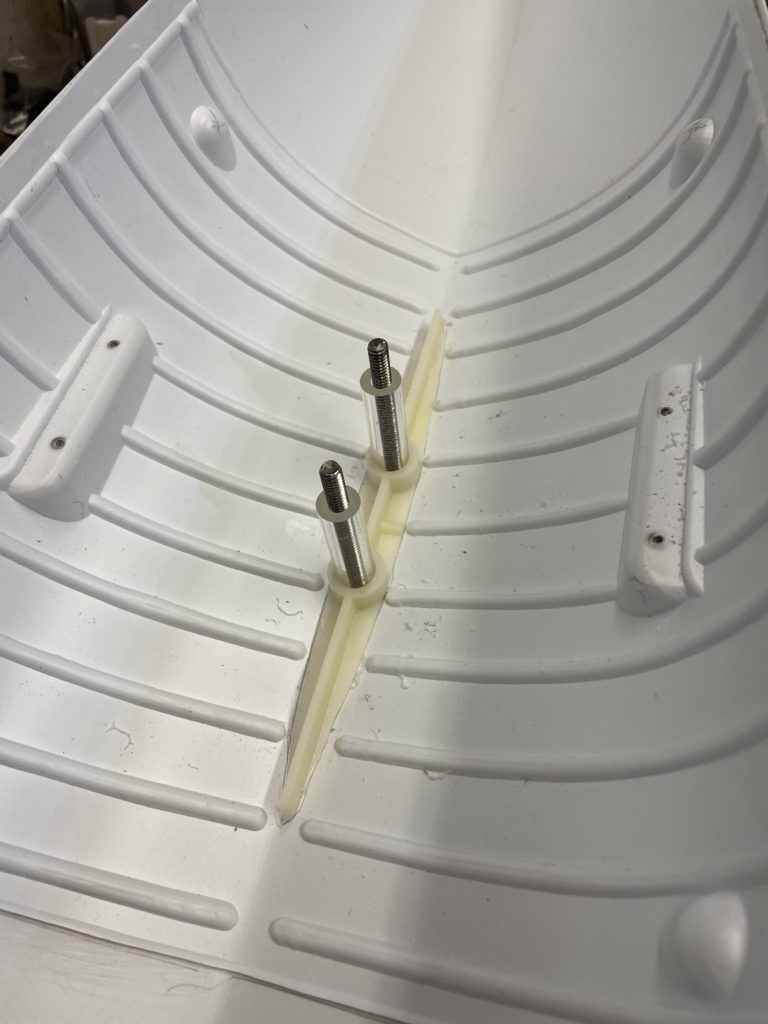
True confession here from a still novice builder. The day following the posting for Day 5, I was horrified to discover (by flipping the hull) the keel and rudder were not aligned perfectly. Apparently, one hole for the keel bolts was a”hair off” center when drilled. Knowing the sealant was not yet cured, I pulled all the pieces apart and wiped them clean with alcohol soaked rags. That effort took awhile, and put me back to Day 4. Not sure how to approach this problem, I contacted Cliff Martin. Cliff reassured me this was an easy fix, much to my relief. He suggested that I buy some 1/32” plywood and trace the keel shoe on it. Then, by cutting the plywood to the shape of the keel shoe, and placing it in the hull below the keel shoe, the holes would be sealed. From that point, my focus turned to making certain the new holes to be drilled would be perfectly aligned with the rudder. Today, I drilled the new holes with much care. Instead of using a 1/4” drill, I began with a 1/16”, then went to 1/8”, and on to 3/16”. After each drilling, I used a caliper to measure the alignment to a drawn center line. Final drilling was the 1/4” needed for the keel bolts. The caliper confirmed the holes were the same distance as the keel bolts. I then set the hull on the keel, flipped it, and saw that the alignment was perfect. Lesson to others: Drill holes with great care!! So……back to the build after setting the keel shoe in place with sealant. Cure time will be 3 days. Last thing done today was the placing of the rudder servo mount. See photo!
Racing in RI cancelled today due to lousy weather. Used the time to get back to my Soling build. I was able to set the keel in place and the same for the rudder post. Also placed screw eyes for anchor points.
Today was focused on setting keel and rudder placements. Holes drilled for keel and rudder. Keel shoe aligned and servo crossmember was positioned for eventual placement. Cut the servo crossmember to fit my larger Hitec sail servo.
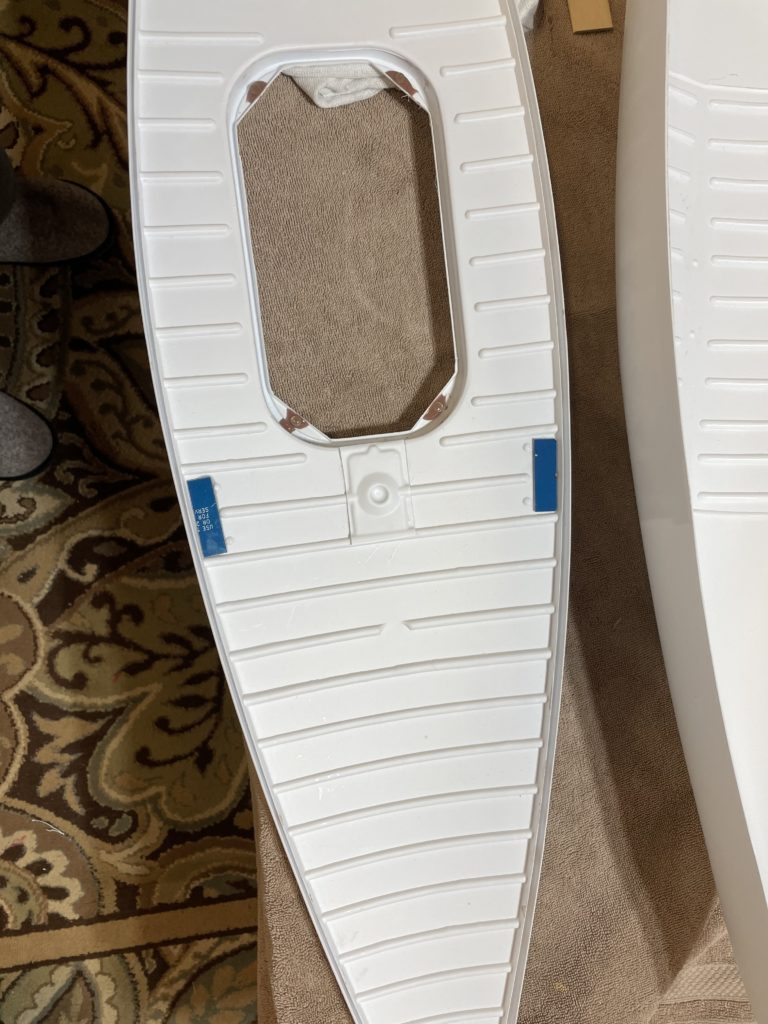
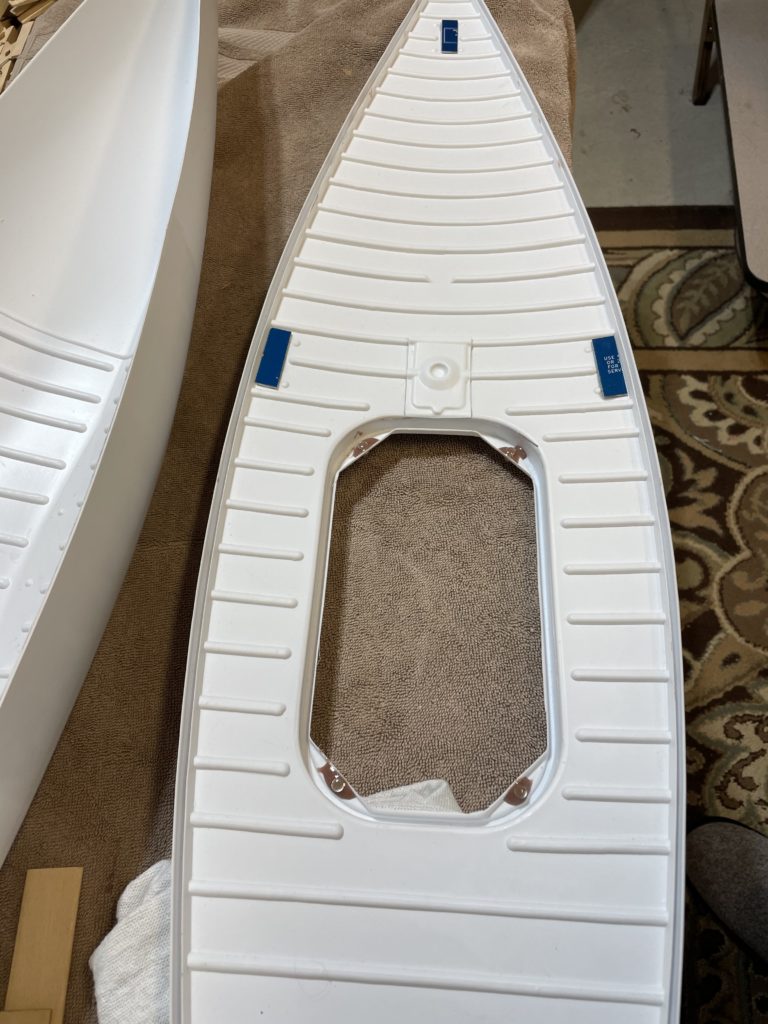
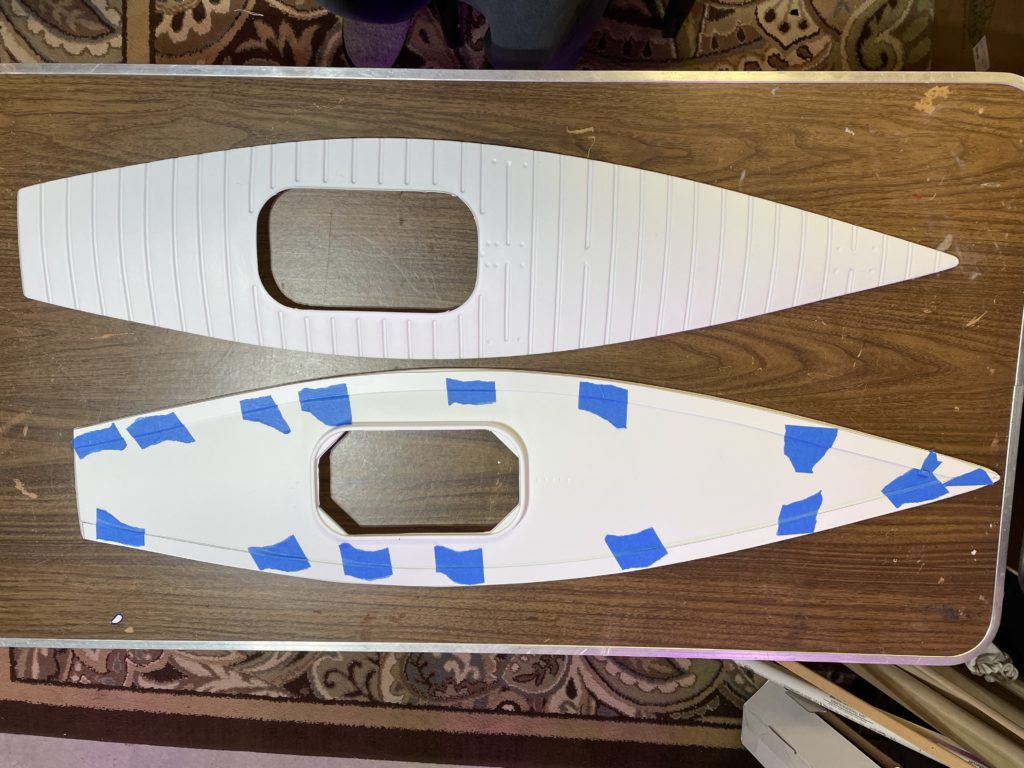
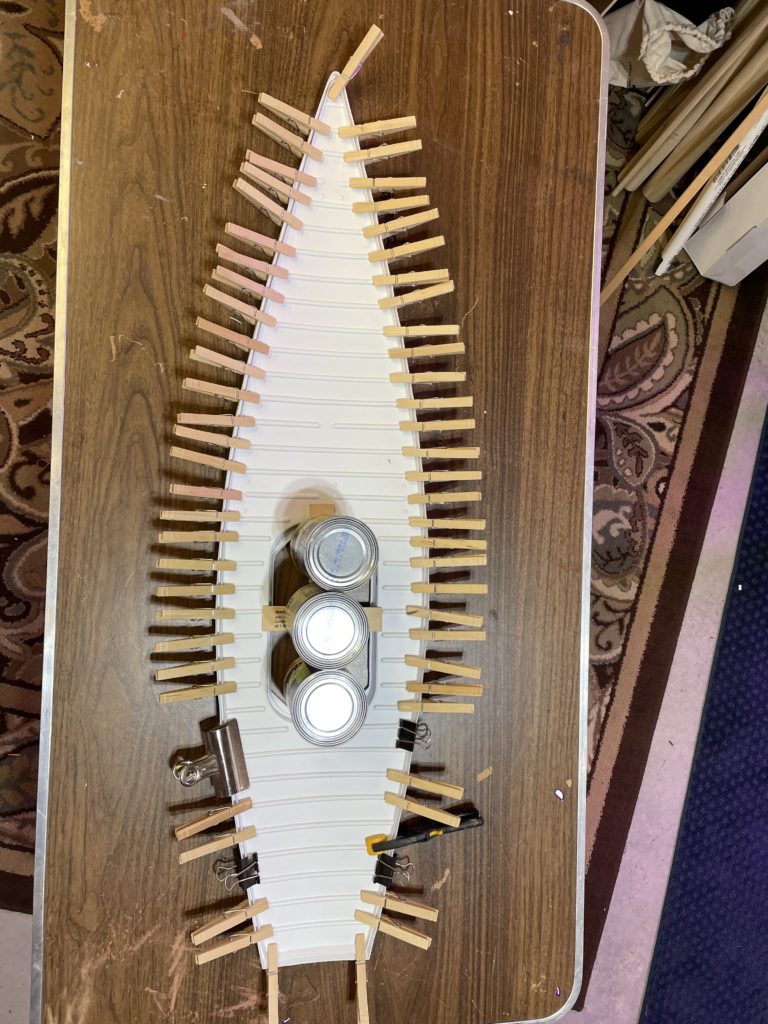
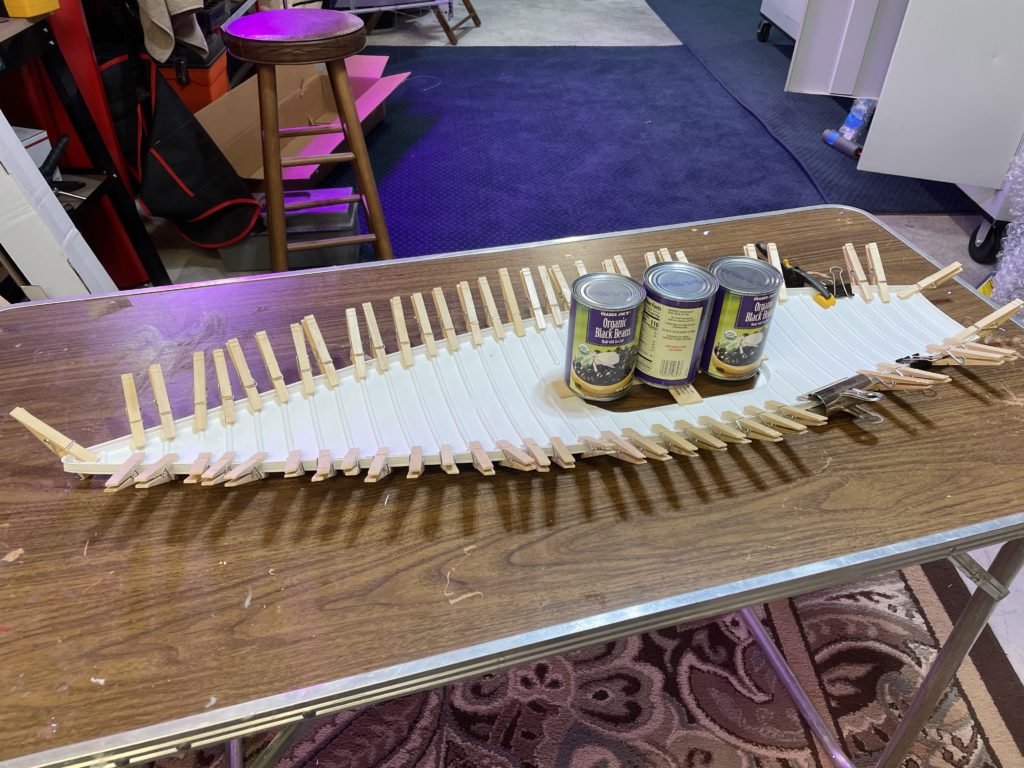
This novice builder has begun to follow the 29 pages of illustrated instructions. It starts with attaching the deck liner with epoxy. Left it overnight to cure.
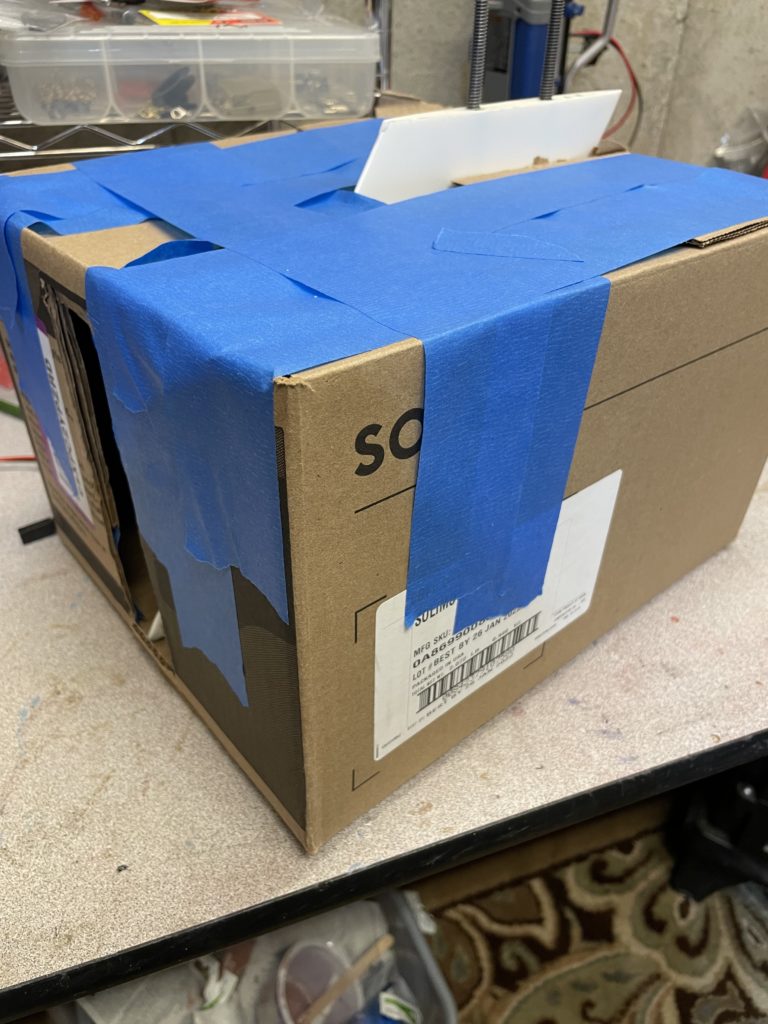
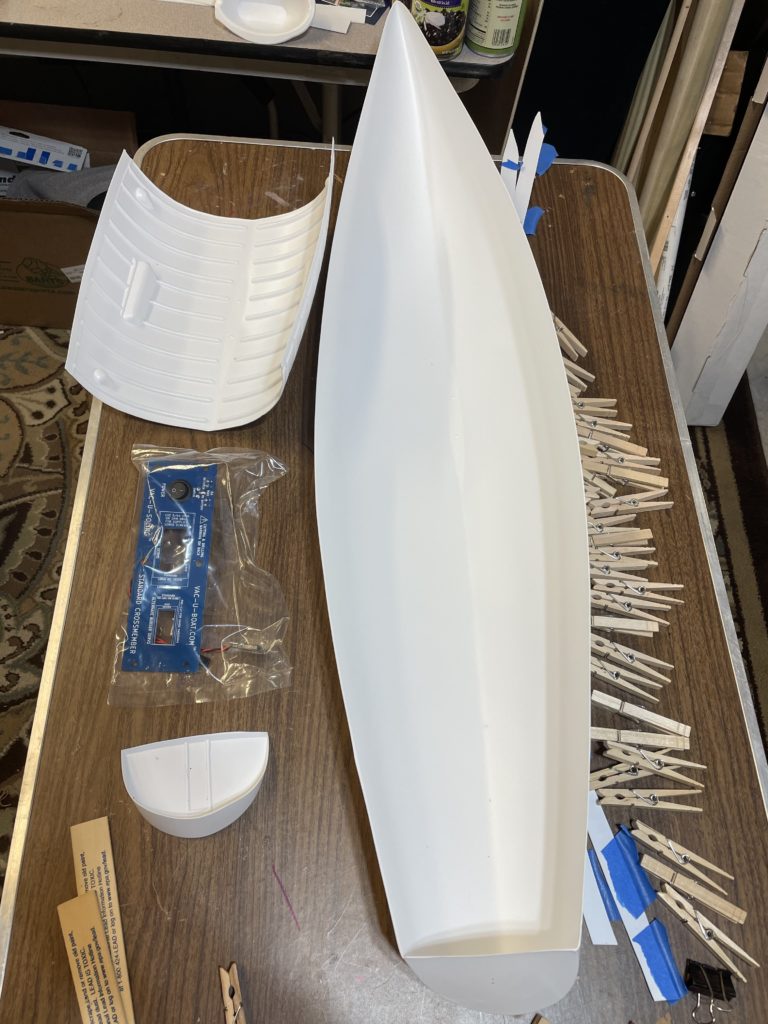
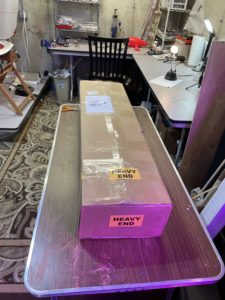
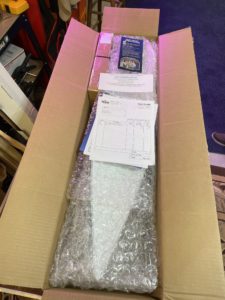
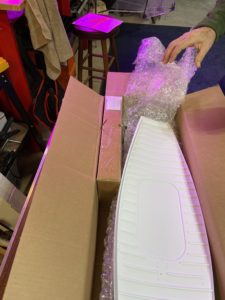
We (Cliff Martin and I ..[Paul Mercer]) opened the box and inventoried the parts. Weighed it all to get a rough idea how heavy the finished boat might be. We determined it might be heavier than originally thought, so we will factor that in our building plans. Well thought out kit, in many respects. The build will begin this week. After all, it is now sailing season. 😉
Because of curiosity, Paul and Cliff plan to build one of the new Solings. Vac-U-Boat (same company that produces the club’s tugboats) was chosen by the Soling 1M class to replace Victor Models as the source for boat kits. See:http://www.vac-u-boat.com/Vac-U-Soling.htm Production of these kits has just begun, and we expect to receive a build kit by the end of February. Stay tuned here, as we go through the entire build process. With some good luck, this new Soling may race in our club’s Ice Breaker in March. Will it be competitive against the old Soling?


 We (Cliff Martin and I ..[Paul Mercer]) opened the box and inventoried the parts. Weighed it all to get a rough idea how heavy the finished boat might be. We determined it might be heavier than originally thought, so we will factor that in our building plans. Well thought out kit, in many respects. The build will begin this week. After all, it is now sailing season. 😉